Halloween 7/24/365

Showing posts with label corpse prop. Show all posts

Monday, October 15, 2012

2012-Day 16- Rolling update

Vortex bridge reassembled!
Chandelier nearly complete. One arm needs to be reattached.
The vortex bridge assembly was completed yesterday. I had a friend come over to help and we finished it in just over an hour! No significant degradation yet of the wood components now in the 3rd year of use. Next we will test the motor and put the fabric up. So actually the vortex is right now a little ahead of schedule. The rest of the haunt is getting there but I think we're a couple days behind. The chandelier is about 90% done but we had a glitch with one of the arms coming off after the glue failed (see image above). The problem is the inner pvc is also glued and when you screw the arm into it, it might actually increase the stresses on the glue. So far 5 out of 6 arms look fine. We do have a 'plan B' which is to use wooden dowels instead of pvc which can be screwed into the base rather than glued.

Friday, October 12, 2012

2012- Day 19 Hoops done!

Attaching arms to the base. You can drill an extra hole in the base to run the wires through.
All 3 hoops reassembled!
It took 3 days to get the vortex hoops back up. Not too bad. We have the system down pretty well by now. Last thing will be the bridge and of course testing with the motor. Be careful though with the windy weather. We left one side of the canopy open to make the hoop assembly easier but this allows wind to get in there and potentially lift the other side of the canopy like a sail. That did happen with one significant gust! Meanwhile progress continues on the chandelier. A couple of arms are seen here attached to the base. I glued the arms to the base with some loctite cement and also used 1 or 2 screws per arm which allow for extra fixation into the pvc inner tubes.

Tuesday, August 21, 2012

2012- Day 71- More crypt work and video projection test

We tested the crush wall. No problems there. The rolling mechanism is actually smoother now that it has aged a year! The snake video projection was also turned on and that works fine as well. The concept behind video projection can be reviewed in this post from last year.
We will have things set up so that when the crypt door opens, the snake video will be on and as soon as the guests enter the crypt it will get shut off. An important point on these projectors is you can't stop or even pause them without having those annoying display signs appear in the projection e.g "pause", "stop" etc. thus killing the effect! I had to rig a shutter device which is shown in the second video. This can be operated manually by the "videographer". It will take some practice to get the flow down. First the shutter is deployed, then the video is paused until the next group is about to enter. Then before the crypt door opens, the video is unpaused and the shutter opens. Next the crypt door opens. I think I am going to have to write this one up for whoever is doing it! We'll call it the 'home haunting playbook'!
The following are a couple of videos illustrating the live effect:


This shows the crush wall basically fully deployed to a position about  half -way to the exit door from the  back of the room. More than enough to scare even the bravest of souls! Remember the corpse prop will have live night crawlers on it! 

Monday, July 9, 2012

2012- Day 114

The following is a brief tour of the Halls of Doom, again largely left intact due to last year's freak storm. This was unexpectedly creepy going in there to see what we left behind as we begin the journey to Halloween 2012. I may not need any fake spider webs at all! It was very dark in there as you can see.


Saturday, September 24, 2011

Day 37- Live map room!

At last some signs of functionality! We installed camera 3 in the map room and tested it out. Works great! Now Ghouls, for those of you interested in night vision cameras these are fantastic. This is a Bullet infrared water resistant CCD sold by a company that used to be called PalmVid and now Bigsecurity.com. Camera + cables, adaptors and 5 year warranty for $90. Image quality is excellent. The video in this post does not do it justice as I was shooting the TV monitor with my iphone! One day I will have a real video camera but every cent is going into the haunt right now. But you get the idea. These cameras just plug into the yellow port on your TV and away you go! The images in this post show the camera mounted in the near corner of the map room which was really the only place we could put it. You can also see the 3 monitors in the control room. The one on the far left is the map room monitor.

Friday, July 22, 2011

Day 101- Crush wall details

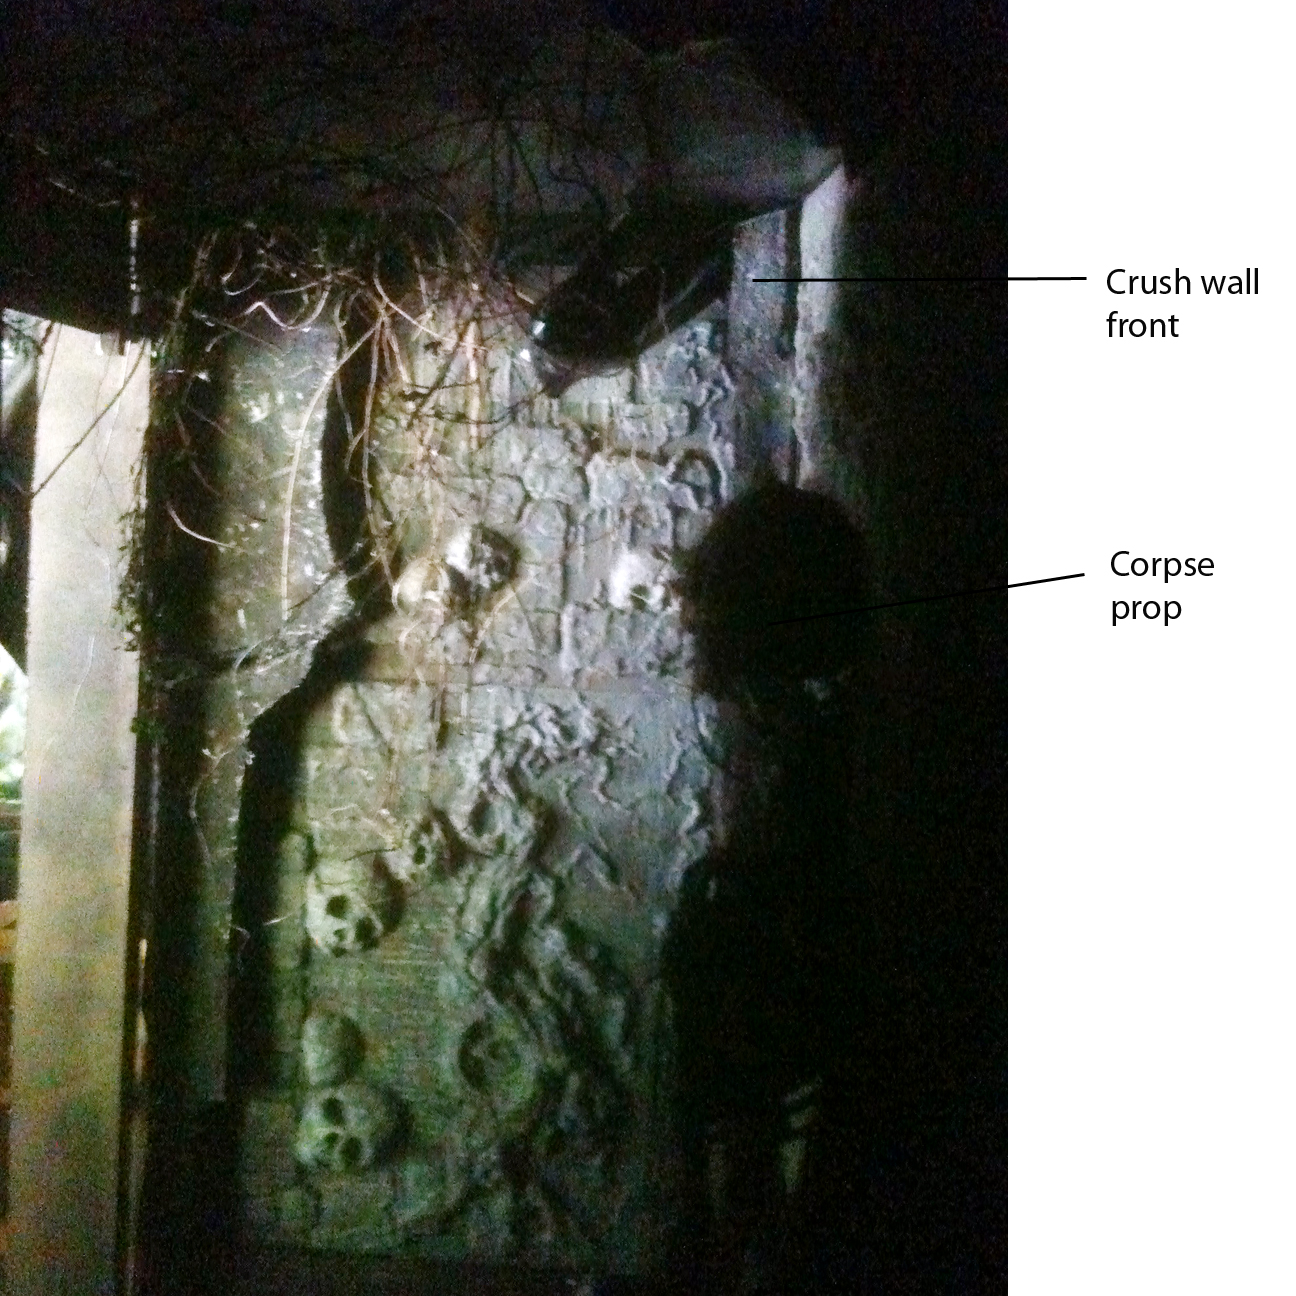
Progress has been a little slow with the heat wave in full force. The fan is just blowing hot air. Anyway I did get the crypt panels installed onto the crush wall which you can see here. It looks awesome!

This time they will be quite visible and there will be a total of 9, 5-6 of which will be placed in the Map Room! You can also see the corpse prop in front of the wall and yes I did add some old chains we had lying around from our dog's old backyard runner. I aged them a little with some black spray paint. Lot's more to do here. We've got the rest of the Map Room walls, 2 doors, the projector set-up and ceiling. We are also going to start work on the elevator platform this weekend!

Saturday, July 16, 2011

Day 107- Map Room gets corpsified!

We added the corpse prop as planned. It's a great prop. I've been using it for years, but I think this year it will really stand out. In the past no one could really see it because either it was too dark or they passed it too quickly. This is a classic corpsified skeleton. You take a skeleton and modify it's appearance to look more like a real corpse through a series of processes which vary slightly from one haunter to the next but all yielding the same result. In my case, I did this several years ago. I started with dark stockings stretched over the skeleton, followed by cutting the stocking up and then going through a sequence of shellack and stain applications incorporating thin twine to look like pieces of flesh. I think it came out pretty well. And yes it is missing the left leg, but I think it looks even more real with a missing leg, don't you? If you google 'corpsing a bucky' you will find many how to's on this. In any event I added a third I-beam and wheel as you can see just for the corpse but learned from the recent difficulties we had with the wall blocks and made sure there was plenty of space this time between the block and the I beam. As a result the corpse easily gets pushed along as the wall moves forward!I didn't have to add a whole separate pulley mechanism for it and just have a simple pull back cord to reload it at the end. I will dress it up with some chains to hide the suspension cord soon.
So now we just need to reinforce the I beam frame and finish the wall detail to make sure the added weight on the crush wall is still OK. We are also going to be starting the elevator platform! Coming up fast on day 100!